Xero sync setup guide and video tutorial
This guide will walk through setting up the sync with Xero.
To watch a video of the sync setup with Xero see Bill Manager Xero self-guided setup.
Table of Contents
Sync Overview
The following image shows what objects sync and in which direction.

Pre-setup requirements
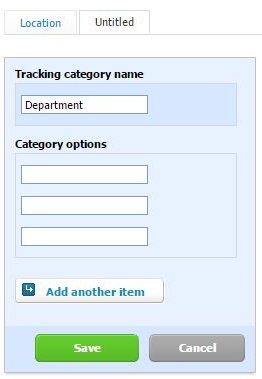
Tracking Categories
- If using Locations and/or Departments, they must be named Location and Department within Xero to ensure proper sync.
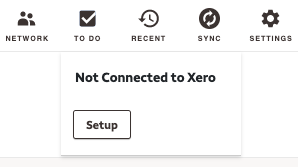
Connect the Sync
- Select the sync icon
- Select Setup
- Select Connect to Xero
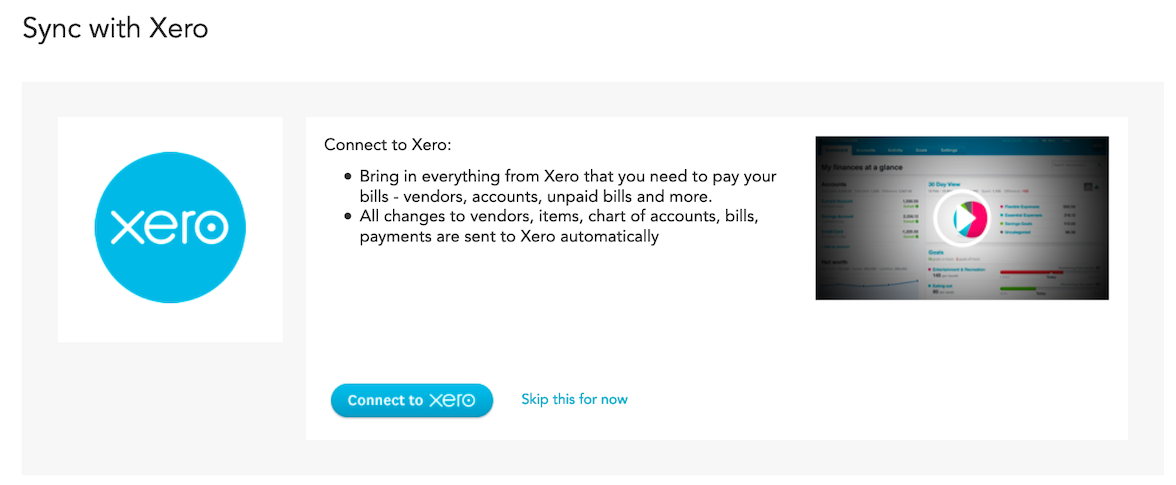
- Enter Xero login credentials

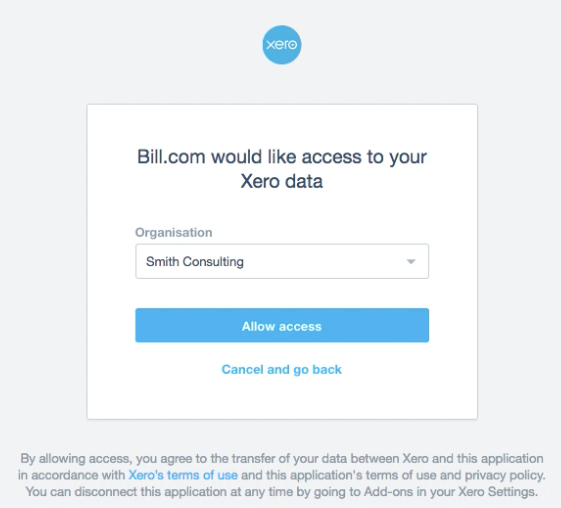
- Select the Xero company to sync with, select Allow access
- Select simple sync preferences


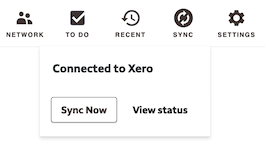
The sync is now connected.
Accounting Preferences
To set up accounting preferences for reporting and tracking:
- Select Settings
- Under Accounting, select Preferences
- Select the edit icon
- Set preferences
- Select Save
- Select the sync icon and Sync Now to run another sync

The sync setup is now complete.
If you do not see the described feature available in Bill Manager, you may not have access to the feature based on permissions for your role and/or your plan does not have this feature. If you wish to get access to the feature, please review the available plans for Bill Manager and upgrade accordingly or contact the Administrator of your Bill Manager account. Changes in monthly user fees may apply.
Inbox View all
Getting Paid (Receivables) View all